
How to Edit Text in a Photo Online: 4 Methods Honestly Compared
Need to change words, dates, or prices on a photo? Compare 4 online methods: text overlay, Photoshop retouching, OCR reconstruction, and AI in-place editing.
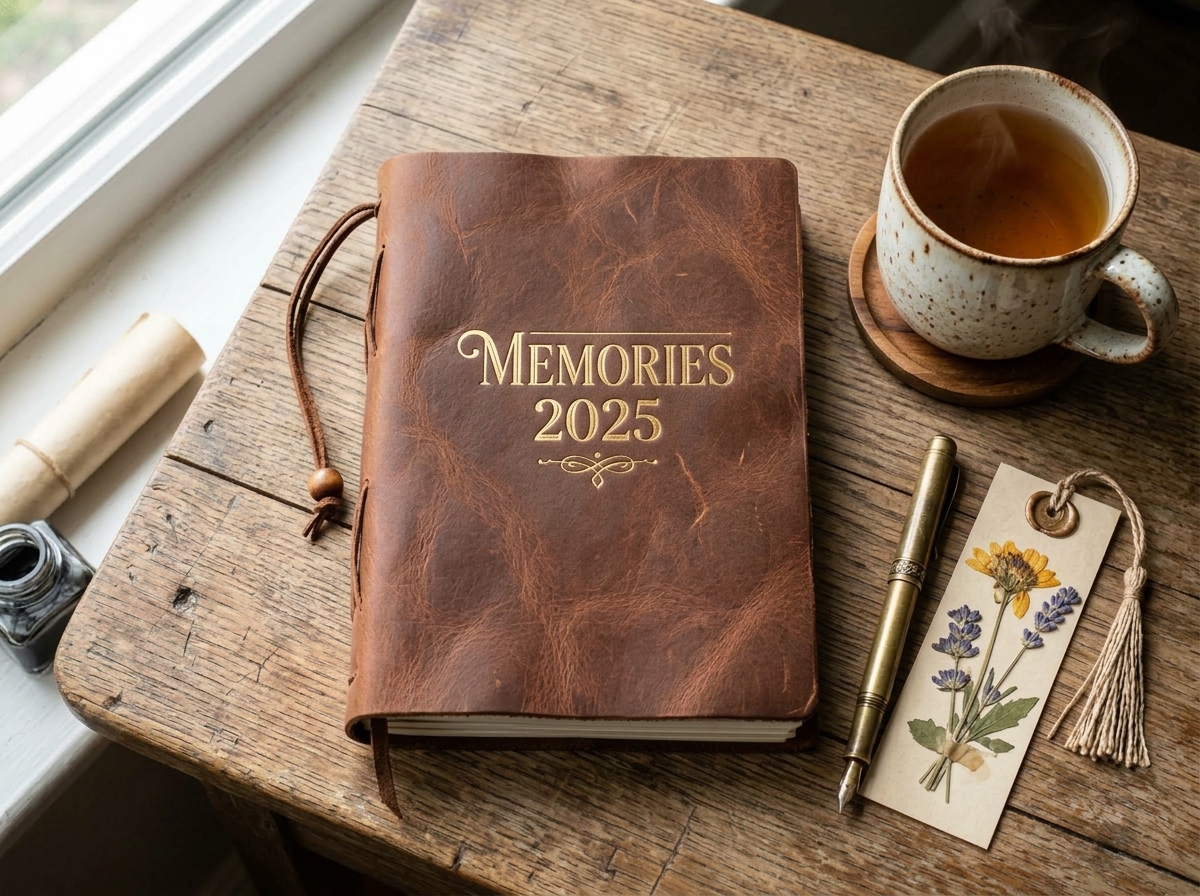
The flyer is finalized, the social ad campaign is ready to launch, and someone spots an incorrect date or a misspelled brand name. The original layered design file is gone, leaving you with nothing but a flat .jpg or .png file.
Most search results for "how to edit text in a photo" recommend tools that never actually edit the photo's text. Instead, they tell you to paste a colored box over the words and type new letters on top. That works on a pure white document, but it completely ruins photographs, posters, packaging, and screenshots.
In this guide, we break down the 4 methods that actually work, the visual trade-offs of each, and how to pick the right one for your image.
Why Editing Text in a Photo Is Harder Than It Looks
A photo stores pixels, not editable text objects. When an image is exported to JPEG or PNG:
- Characters Are Flattened: The letter shapes merge into the background pixels, shadows, and lighting.
- JPEG Compression Adds Artifacts: The format compresses high-contrast edges hardest. Because letters are made almost entirely of high-contrast edges, compression creates subtle halos and noise around every character.
- Lighting and Angle Are Baked In: Real photos have directional sunlight, lens blur, perspective tilt, and surface grain (such as paper texture or wall plaster).
To edit words convincingly, a tool cannot just type letters—it must rebuild the surface beneath the text and redraw the new words under matching physical conditions.
The 4 Methods Compared
Method 1: In-Place AI Replacement (PhotoTextEdit / Match Font)
Best for: Photos, gradients, complex textures, screenshots, and artistic typography.
You enter the text that currently appears in the photo and the replacement words you want. The AI identifies the target characters, erases them, in-paints the background behind them, and renders the new words directly into the scene using the original font family, weight, and perspective.
- Pros: Takes under 30 seconds; requires no design software; matches natural lighting, shadows, and slants automatically.
- Cons: Requires clear source text; very small, heavily compressed blur cannot always be reconstructed.
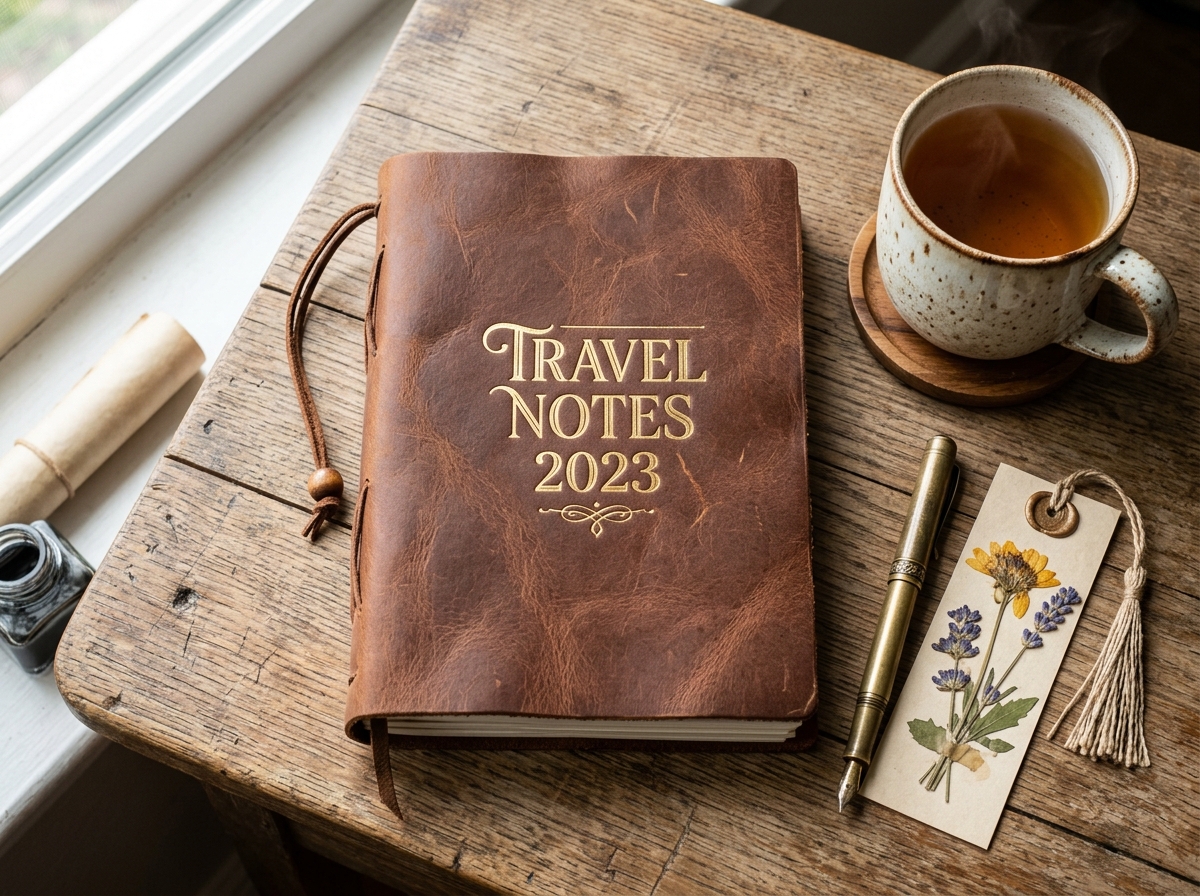
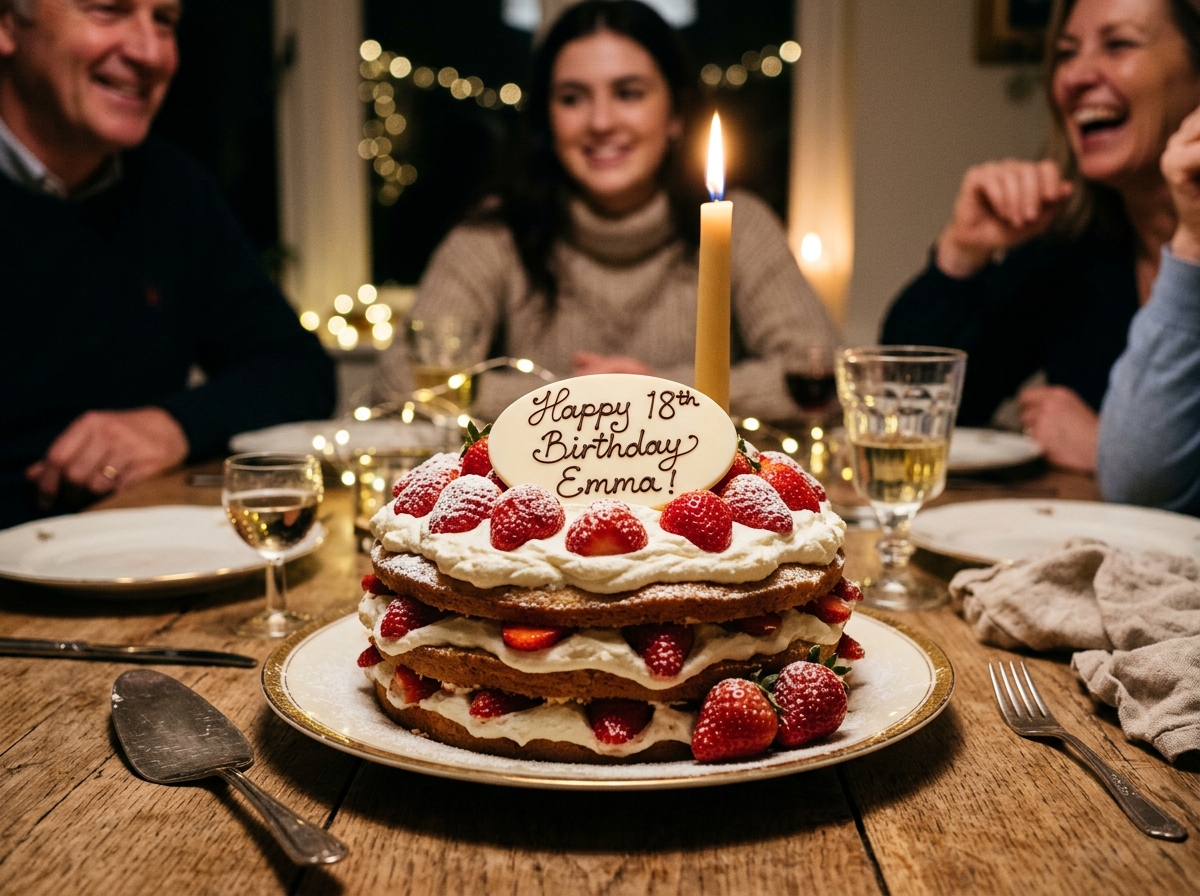
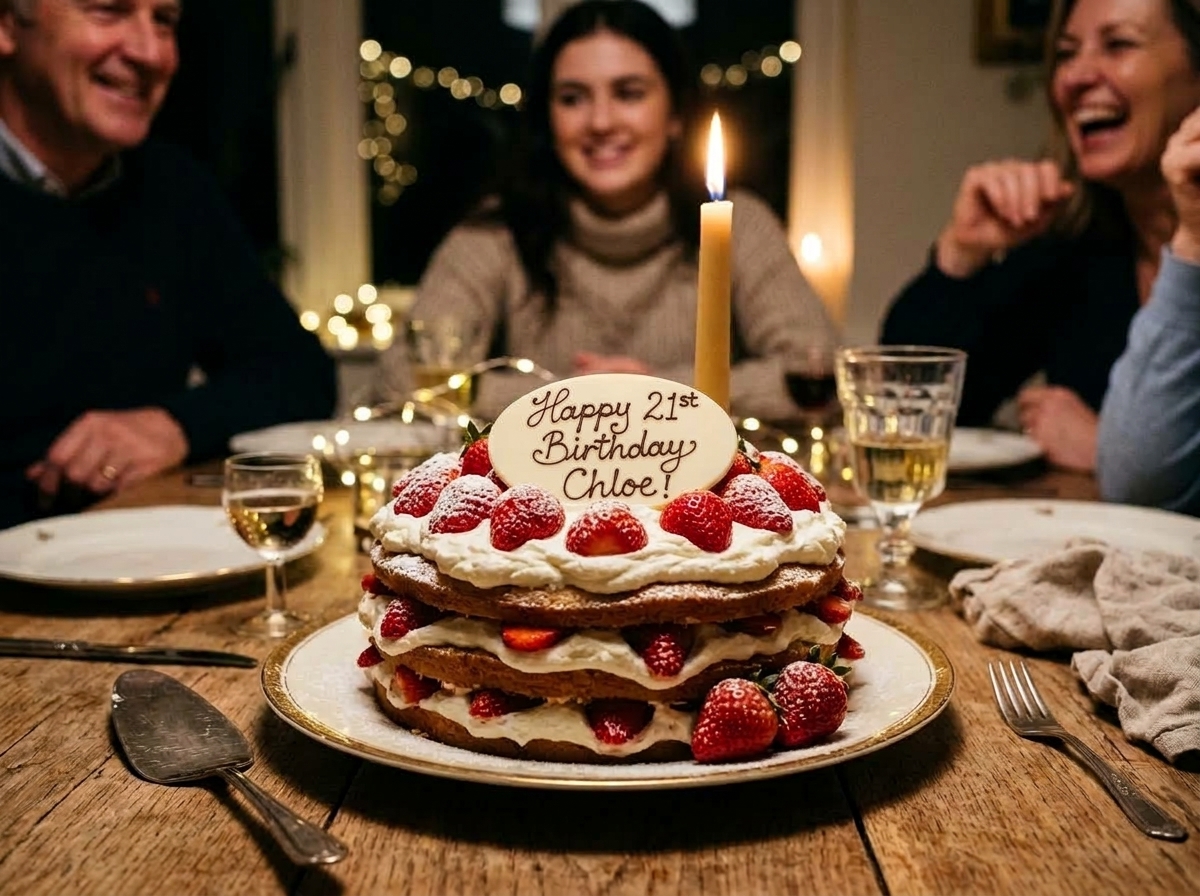
Method 2: Cover and Retype (Canva / Mobile Annotation Tools)
Best for: Pure solid-color backgrounds (black text on pure white paper).
Draw a rectangle filled with the exact background color over the old text, then place a new text box on top and select a standard font.
- Pros: Fast and completely free using any basic phone or browser tool.
- Cons: Fails completely on photographs, gradients, textured paper, and natural backgrounds, leaving an obvious patch.
Method 3: Manual Cloning in Photoshop or Photopea
Best for: Print masters and high-budget commercial campaigns.
Use the Clone Stamp or Content-Aware Fill tool to eliminate the existing letters by sampling clean pixels nearby. Then, find and install the matching font file, adjust tracking, kerning, and color, and add layer noise to match the camera sensor grain.
- Pros: Complete manual control over every single pixel.
- Cons: Takes 10–20 minutes per word; requires design proficiency and paid software.
Method 4: OCR Document Conversion (Google Docs / Acrobat)
Best for: Scanned contracts or reports where only the text matters, not the layout.
Run Optical Character Recognition (OCR) to extract the text into a Word document or Google Doc.
- Pros: Gives you fully editable paragraphs.
- Cons: Destroys the original image, formatting, and typography completely.
Step-by-Step: The Cleanest Way to Edit Text in a Photo
When your photo has a non-flat background or custom typography, the in-place AI route yields the most natural result:
- Upload the Highest Quality Copy: Avoid downloading images that have been forwarded through chat apps multiple times, as each re-compression degrades letter contours.
- Type the Words Exactly: In the PhotoTextEdit Studio, type the original words matching capitalization and punctuation, then enter your replacement.
- Check the Output at 100% Zoom: Inspect the edges of the new lettering and verify that surrounding textures remain seamless.
- Download: Save your full-resolution result.
Need to update an image right now? Start with PhotoTextEdit and experience native, in-place text replacement in your browser.