
How to Match the Font in an Image (Without Playing Detective)
Need to edit words in an image using the exact same font? Learn why font finders fall short and how AI replicates typography and lighting from pixels.
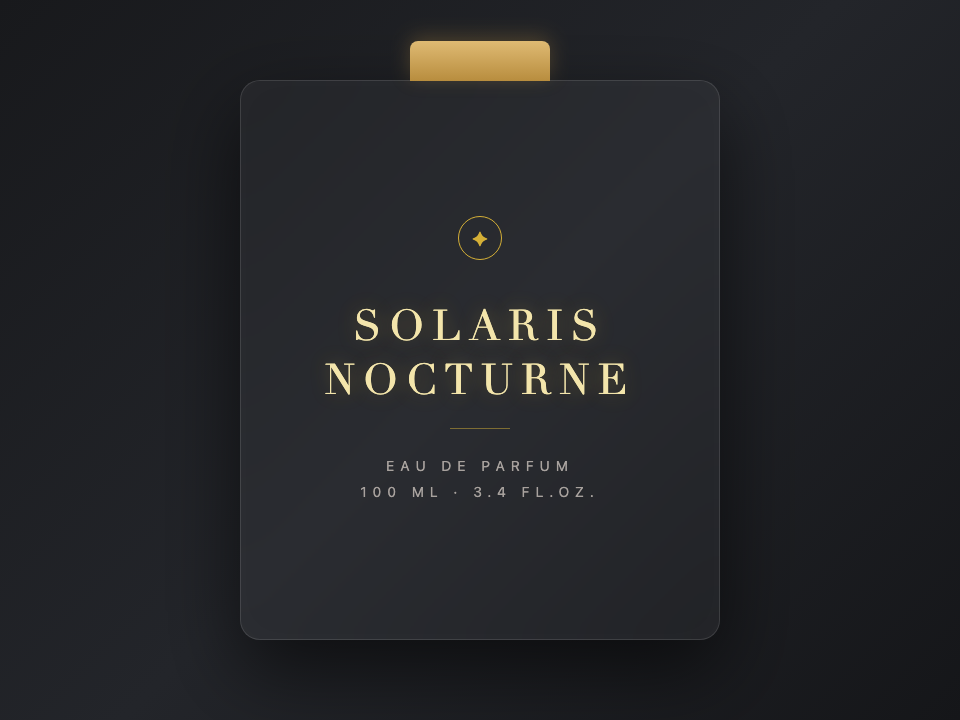
You have an image with text on it—a restaurant menu, a movie poster, a product label, or an event flyer. You need to change a word, update a date, or fix a typo, and it must match the existing font style exactly.
The problem? You do not have the original font file (.ttf or .otf), and you have no idea what the font is called.
Traditionally, this meant playing typography detective: uploading crops to font identifier websites, digging through forums, purchasing font licenses, and manually matching tracking and colors in Photoshop.
Today, there is a much faster route. Let's explore the options and how modern AI tools can sample typography directly from pixels.
Why Finding the Font Name Is Only Half the Battle
Most people assume that finding the font name solves the problem. In reality, an identical font family is only about 50% of what makes text look natural on an image. The rest comes down to subtle visual nuances:
- Exact Stroke Weight: Is it Regular, Medium, Semibold, or Bold? Many custom brand fonts use custom weights between standard steps.
- True Color & Lighting: Text printed on a poster or photographed in a room is rarely pure black or white. It reflects ambient lighting, shadows, and color temperatures.
- Kerning & Tracking: How tightly or loosely do the characters sit together?
- Surface Geometry & Angle: Real-world signs and labels are tilted, curved, or shot from an angle.
- Edge Anti-Aliasing & Grain: When an image is exported or compressed, letter edges soften and pick up subtle sensor noise. Fresh vector text placed on top looks fake because it is unnaturally sharp.
If you nail the font name but miss the lighting or spacing, the human eye instantly recognizes that the image was edited.
The 4 Ways to Match Font in an Image
Option 1: Use Online Font Identifier Tools (WhatTheFont, Font Squirrel)
Take a high-contrast crop of 3–5 letters and upload it to a font identifier:
- WhatTheFont (MyFonts): The industry veteran, excellent for commercial and type foundry fonts.
- Font Squirrel Matcherator: Great at suggesting free and open-source alternatives.
- Adobe Capture / Match Font: Seamless if you subscribe to Creative Cloud.
The Catch: Identifying the font is only step one. You still have to purchase or download the font, install it on your operating system, open a design app, and manually align color, size, kerning, and angle. If the font was customized or hand-drawn, identifiers will fail completely.
Option 2: Settle for a Generic Lookalike
If you just need a quick fix for an internal presentation, pick a standard system font like Helvetica, Arial, or Georgia that looks "close enough." It takes two minutes, but the mismatch will be obvious to anyone looking closely.
Option 3: Manual Retouching in Photoshop
If you possess the font file and professional design skills, you can manually clone out the old text, type the replacement, use Edit → Transform → Perspective/Warp, and blend in matching noise. This provides complete control, but typically takes 10 to 15 minutes per image.
Option 4: Let AI Copy the Font Directly from Pixels (PhotoTextEdit)
The modern shortcut that skips the entire detective routine: don't identify the font name at all.
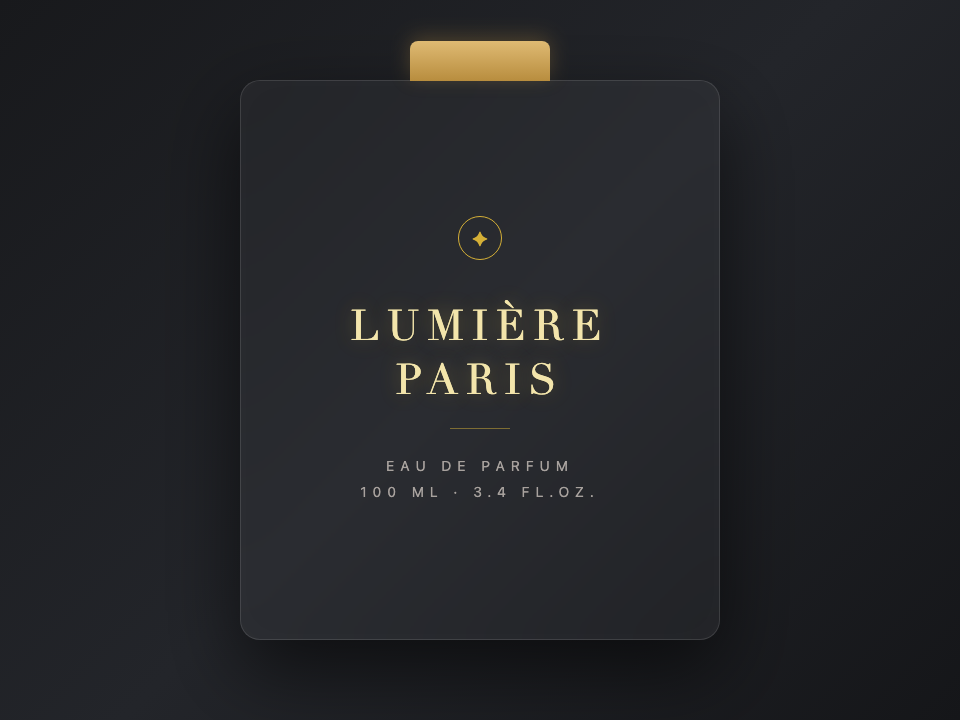
With PhotoTextEdit's Match Font Tool, the AI analyzes the visible characters in your image, extracts the font contours, weight, color, lighting, and slant directly from the pixel data, and renders your replacement text in matching typography.
- No Font Files Needed: Works on custom lettering, vintage chalkboards, neon signs, and stylized logos.
- Background Restored Automatically: The old text is cleanly inpainted without blurry smudges.
- Done in 30 Seconds: You type the old phrase, type the replacement, and download your 2K image.


When Should You Use Each Method?
- Use a Font Identifier: When you need to specify the font name for brand guidelines or a design system.
- Use Photoshop: When you are preparing high-end commercial print files (billboards, packaging) and have plenty of time.
- Use PhotoTextEdit: When you need words replaced on an existing photo quickly, accurately, and without hunting down font files.
Ready to match font styles instantly? Try the Same Font Text Editor now.